初めに
2023年11月1日に正式にリリースされた(※1)、Ansible Lightspeed(※2)ですが、2023年11月13日現在はTechPreviewがまだ使用できたので、試してみました。
※2
Lightspeed: IBM watsonx Code Assistantというコード生成AIを利用した、Playbook作成支援機能
https://www.redhat.com/en/technologies/management/ansible/ansible-lightspeed
手順
0. 動作環境
Windows 11 Pro(23H2)
WSL + Ubuntu 22.04.02
1. 事前準備
1-1. VSCodeの導入
※LightspeedはVS CodeのAnsible Extentionとして機能します。
以下のURLよりDownloadをし、導入します。
https://code.visualstudio.com
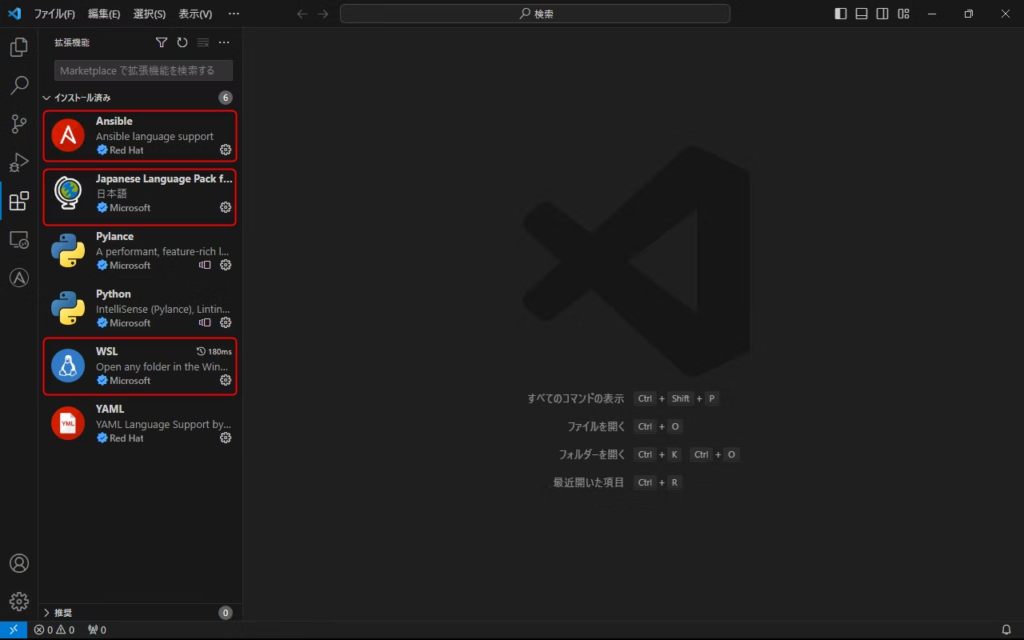
1-2. VSCode Extentionの導入
以下のExtentionを導入します。
・Japanese
・WSL
・Ansible
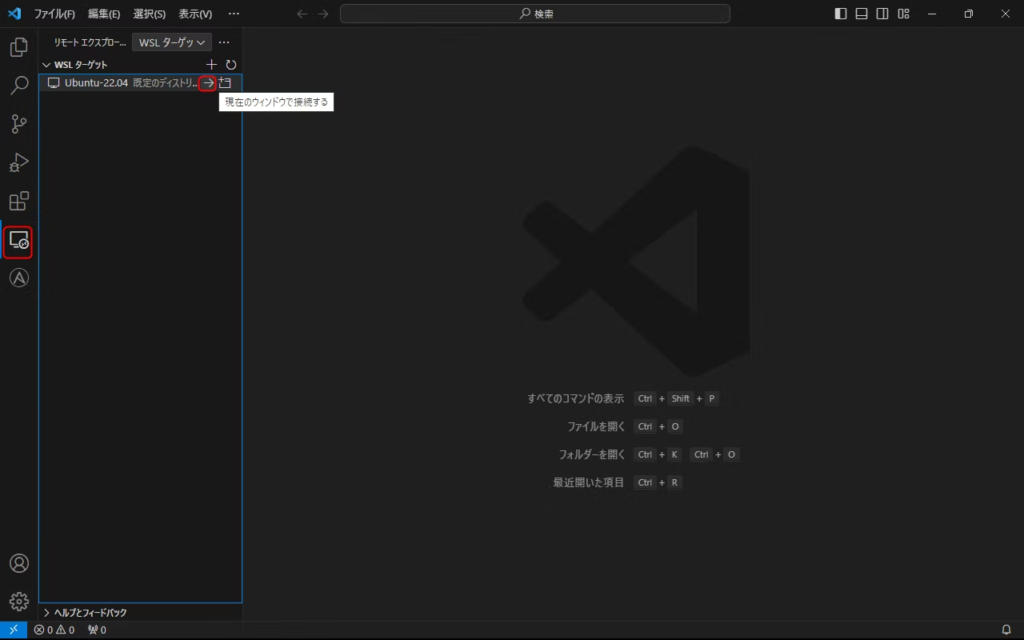
1-3. VSCodeからWSLに接続
「リモートエクスプローラー」を選択し、「Ubuntu22.04」の「→」をクリックします。
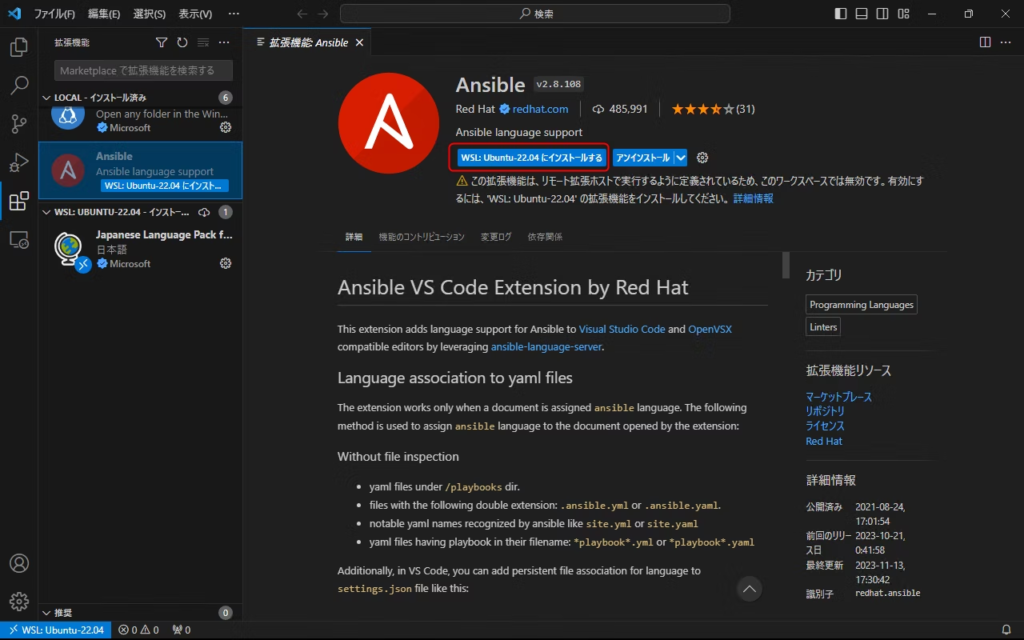
1-4. Ansible ExtentionをWSLのUbuntuに導入
「拡張機能」を選択し、「WSL Ubutu22.04にインストールする」をクリックします。
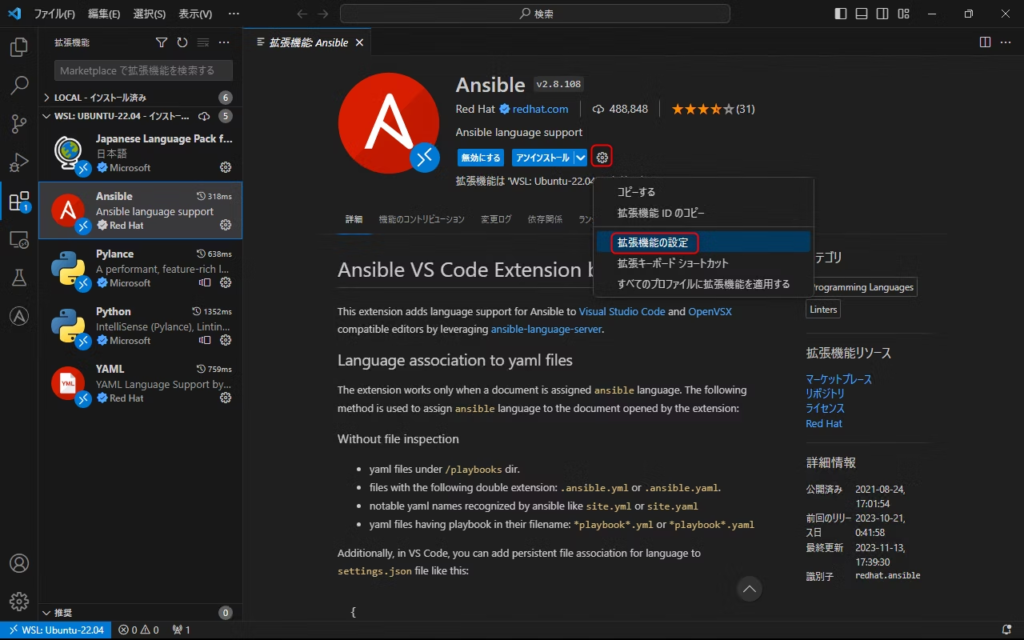
1-5. Ansible Extention の Lightspeedの有効化
Ansible Extentionの「歯車」アイコンをクリックし、「拡張機能の設定」を選択します。
下記図の赤枠の項目のチェックボックスにチェックを付けます。

1-6. WSLのUbuntuにansibleを導入
VSCodeでターミナルを開き、以下のコマンドを実行し、WSLのUbuntuにAnsibleを導入します。
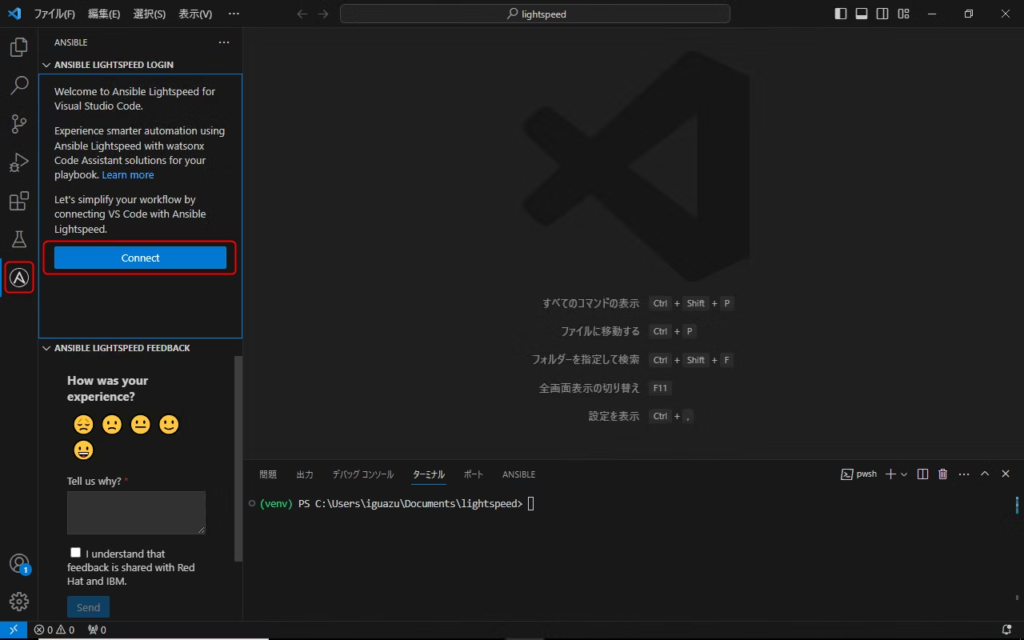
1-7 . Lightspeedに接続
Ansible Extentionのアイコンをクリックし、「Connect」をクリックします。
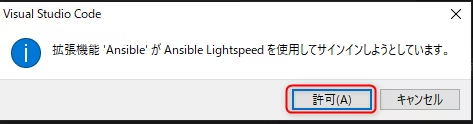
サインイン確認画面が出るので、「許可」をクリックします。
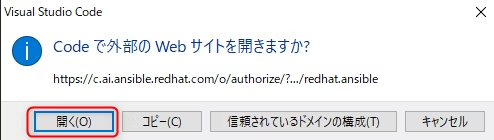
外部Webサイトの表示確認画面が出るので、「開く」をクリックします。
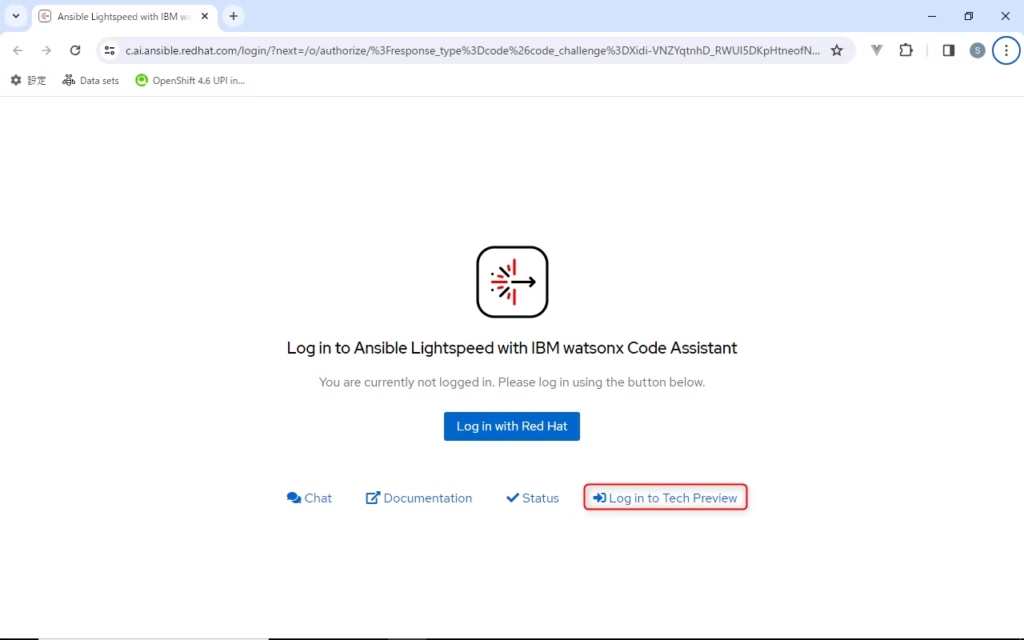
ログイン画面が出てきますが、今回はTechPreviewを使用するので、「Log In to Tech Preview」をクリックします。
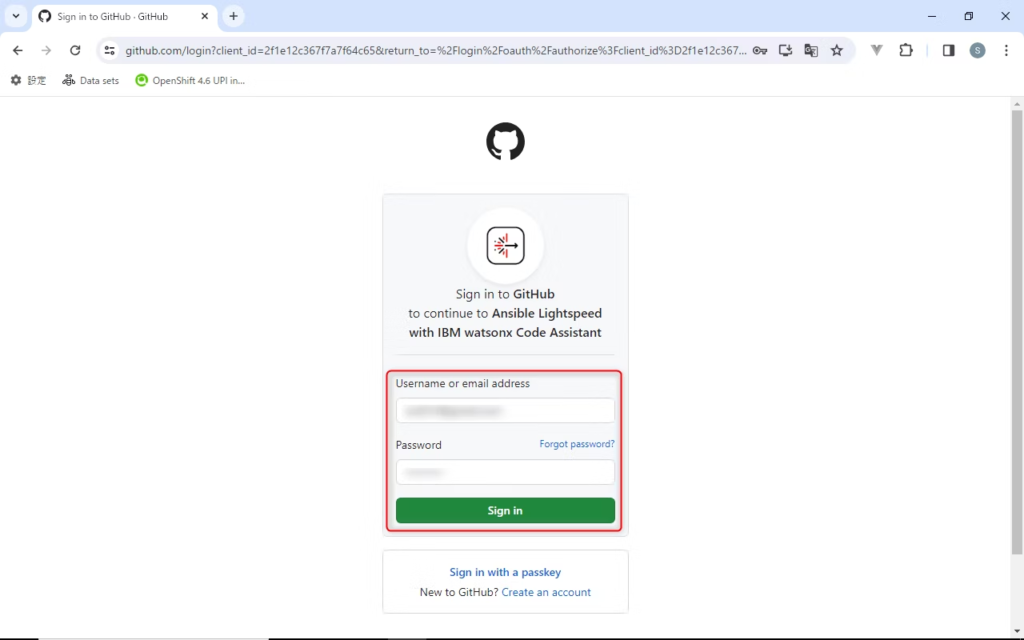
GitHubのログイン画面が出るので、ユーザー名、パスワードを入力し、ログインします。
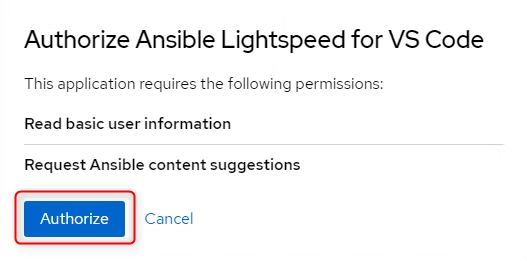
Lightspeed Extention がGitHubのユーザー情報へのアクセス許可を求める画面が出るので、「Authorize」をクリックします。
VS Codeを開くか確認する画面が出るので、「Visual Studio Code を開く」をクリックします。
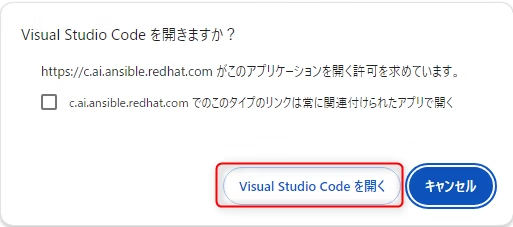
Ansible ExtentionがURIを開くことを許可するか確認する画面が出るので、「開く」をクリックします。

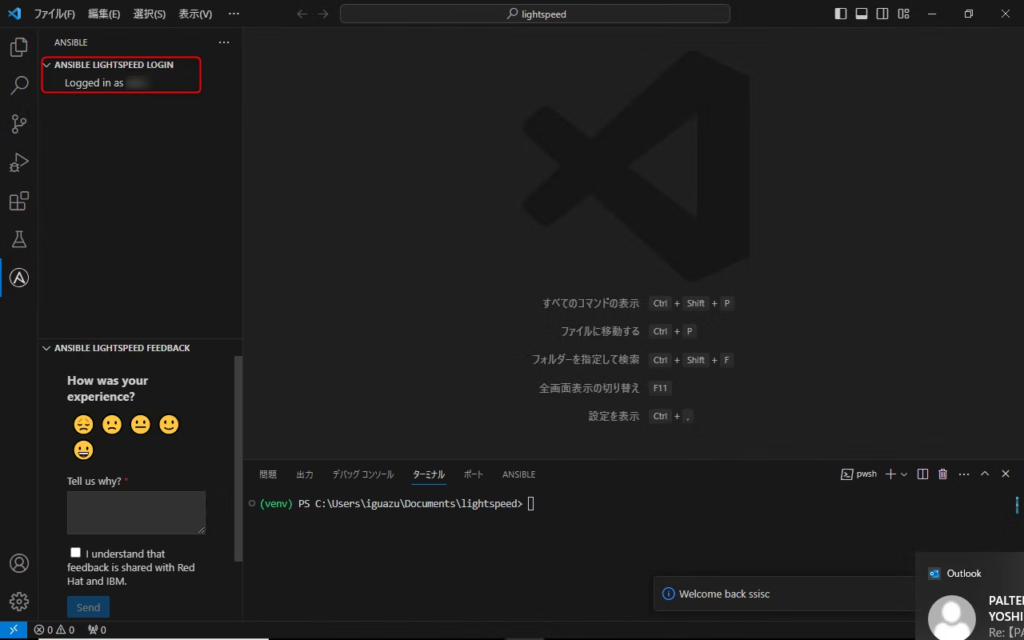
Logged in as xxxxと表示されれば、接続完了です。
2. コード自動生成を試す
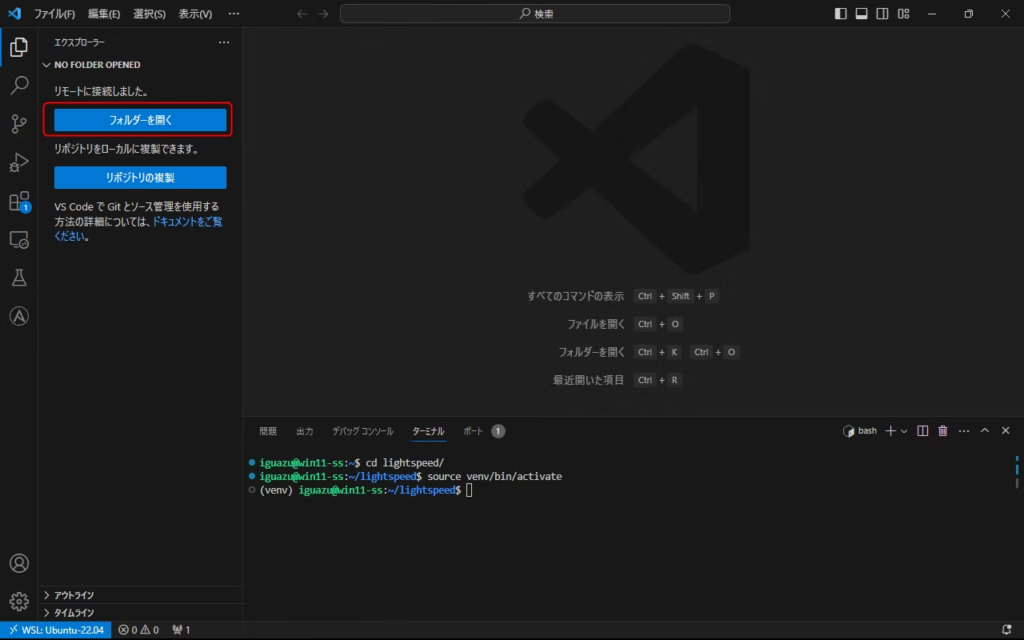
VSCodeの「フォルダーを開く」から、先ほどターミナルで作成した「lightspeed」フォルダを開きます。
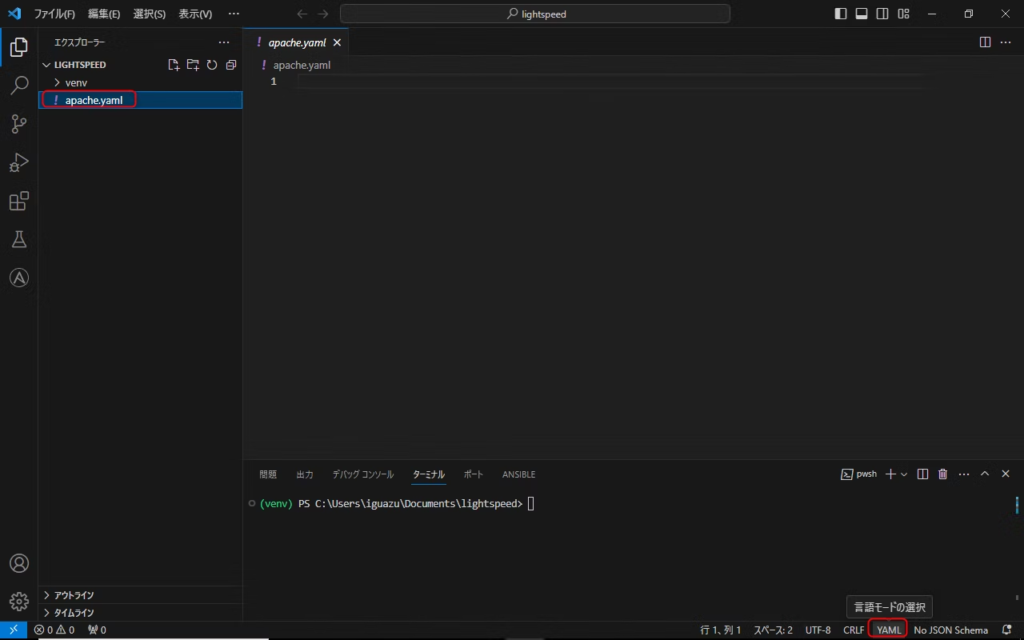
ファイルを作成(ここではapahce.yamlとする)し、画面右下の、「YAML」をクリックします。
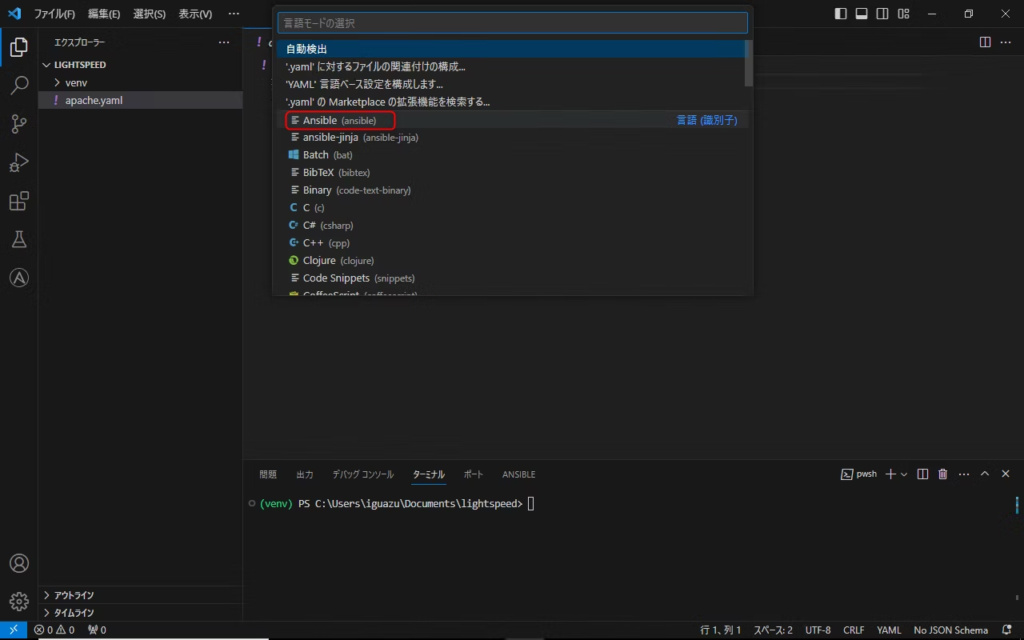
言語選択画面が出てくるので、「Ansible」を選択します。
以下のように、taskのnameに処理したい内容を記載し、Enterキーを押します。
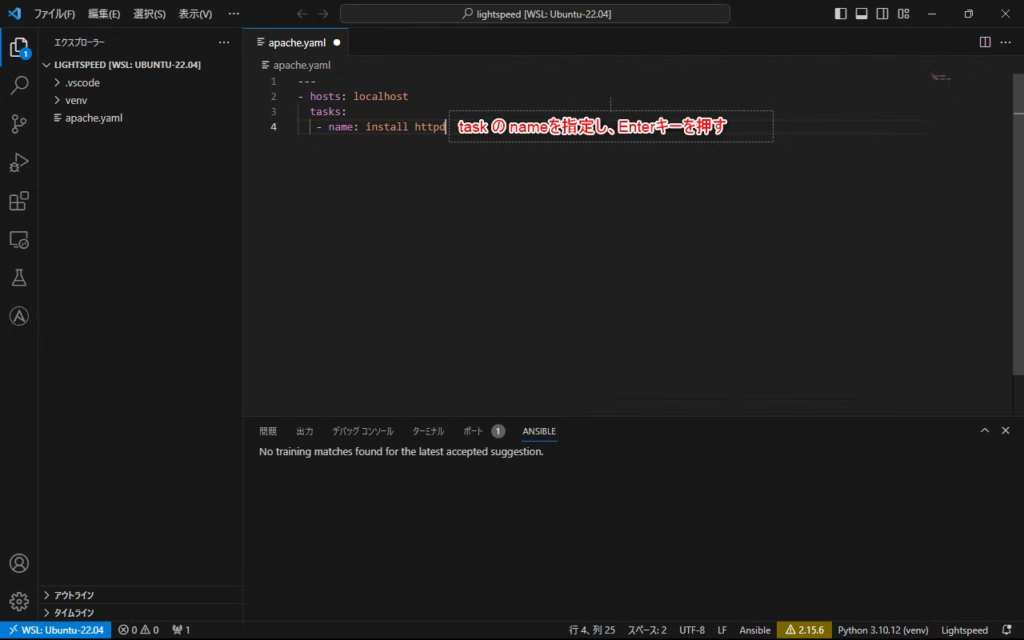
そうすると、コードが生成されます。
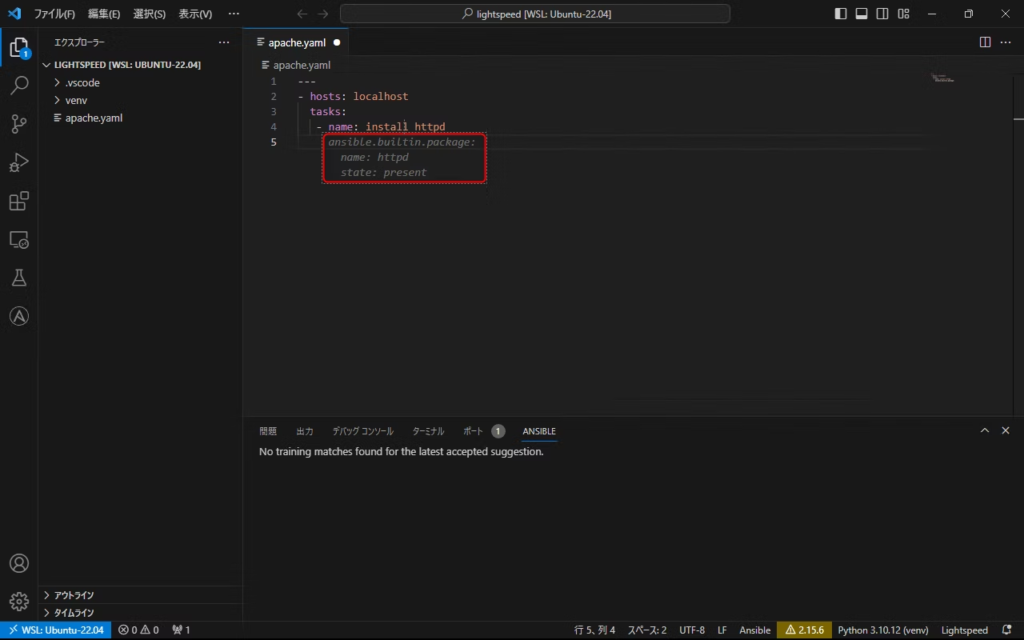
生成されたコードを採用するのであれば、「Tab」キーで確定します。
グレーだったのが、色が変わり確定されます。

