初めに
OpenShift上にAnsible Automation Platform を導入してみたので、その手順をご紹介します。
手順
0. 動作環境
- Openshift 4.6.12
1. Operatorの導入
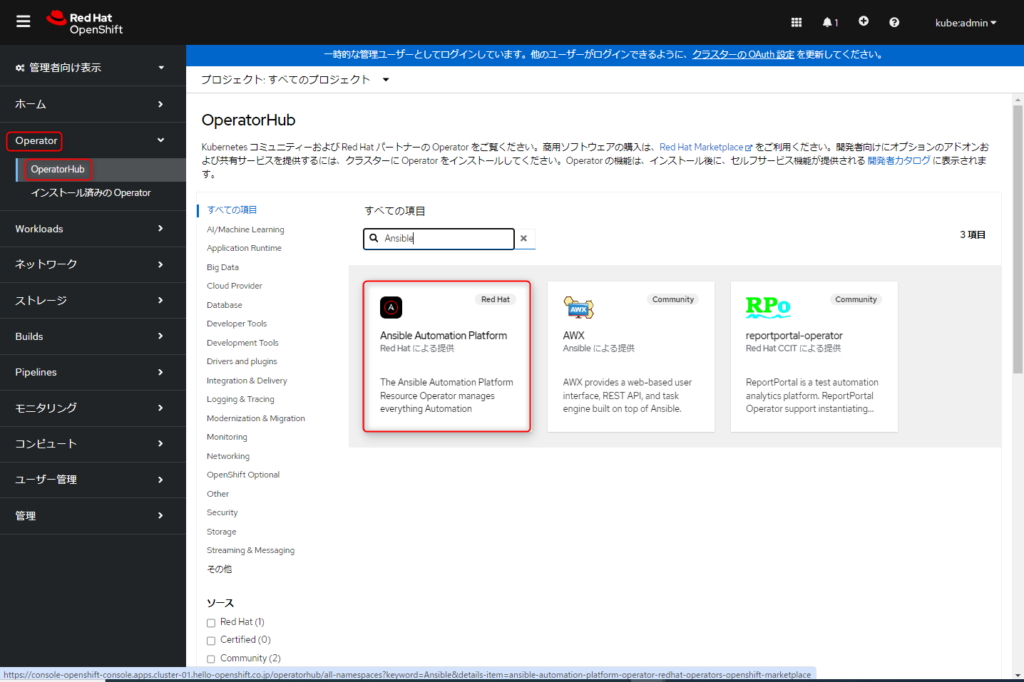
1. Webコンソールから、「Operators」→「OperatorHub」を選択し、リストの中から「Ansible Automation Platform」を選択します。
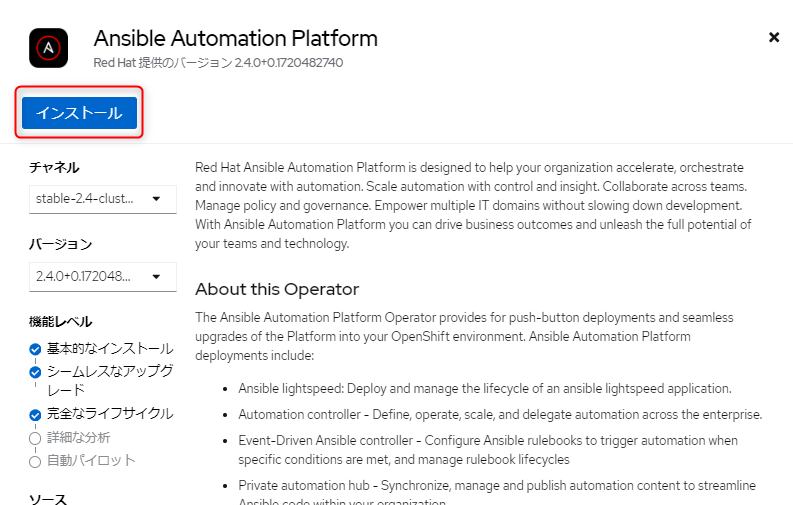
2. 出てきた画面で、「インストール」をクリックします。
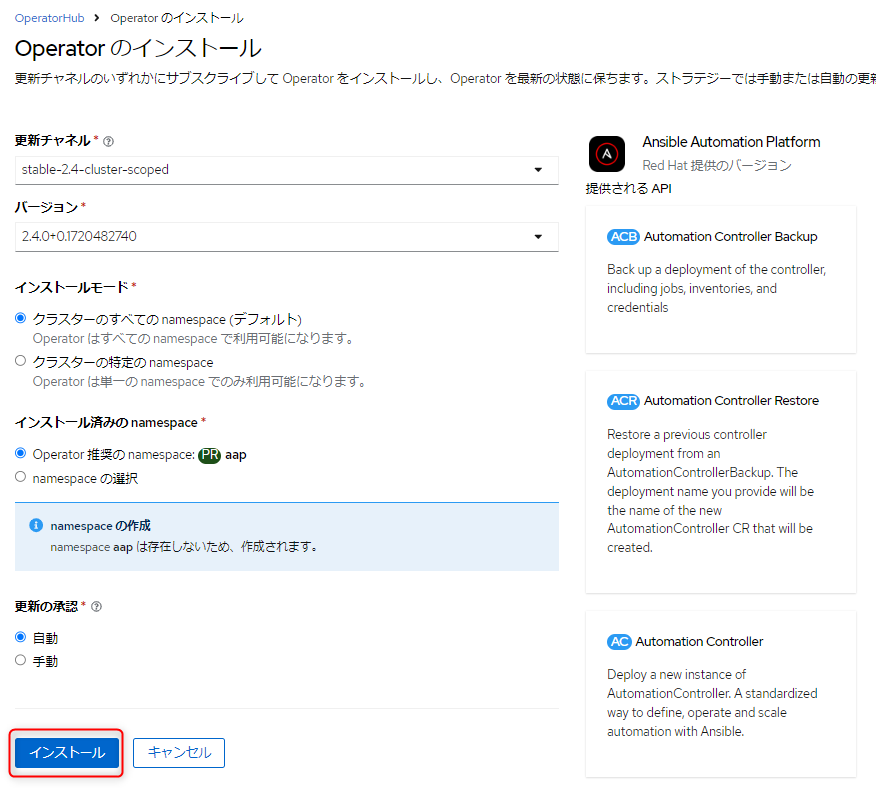
3. 次に出てきた画面でも、「インストール」をクリックします。
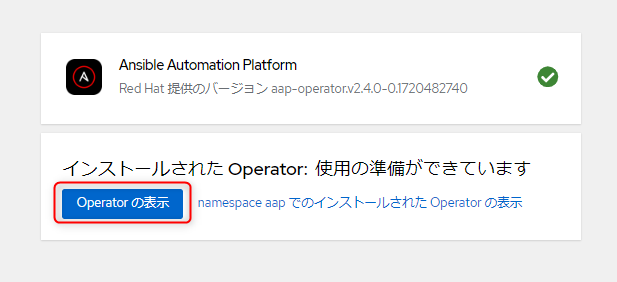
4.インストールが開始され、「Operatorの表示」が出れば、完了です。

2. Automation Controller のインスタンスの作成
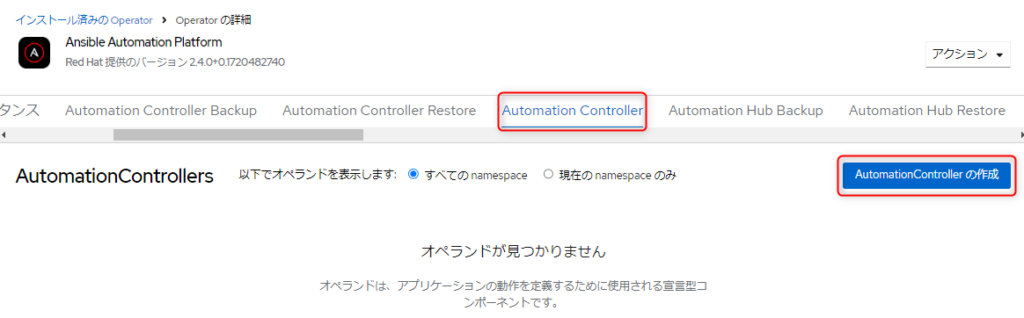
1. 「Operatorの表示」をクリックします。
2. 「Automation Controller」タブを選択し、「Automation Controller の作成」をクリックします。
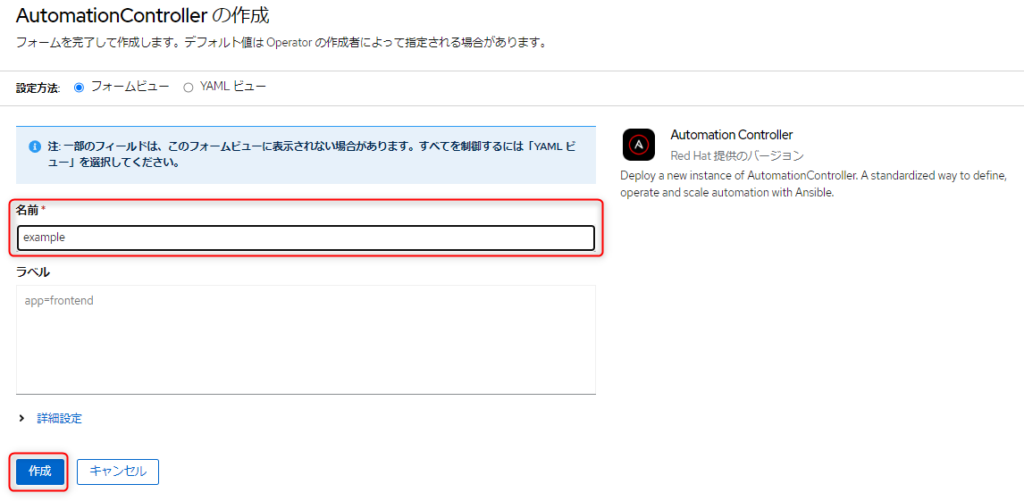
3. 「名前」に、任意の値を入力し、「作成」をクリックします。
4. Automation Controller のインスタンスが作成されます。

3. Automation Controller の WEBコンソールへのアクセス
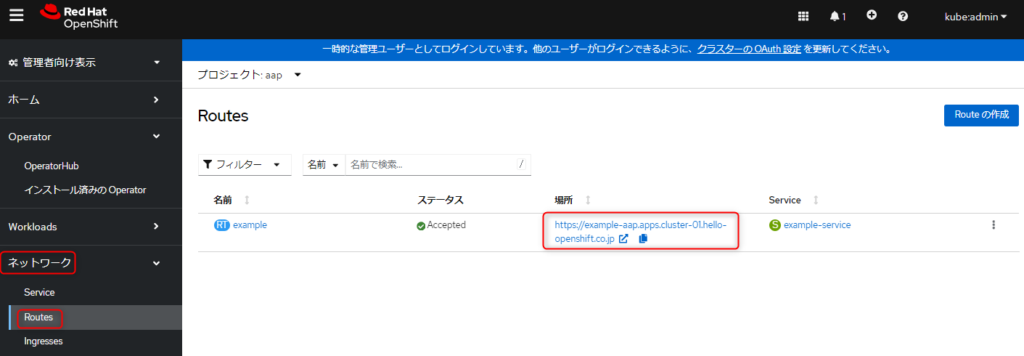
1. 左ペインの「ネットワーク」から「Routes」をクリックします。そうすると、Routes情報が表示されるので、場所の欄のURLをクリックします。
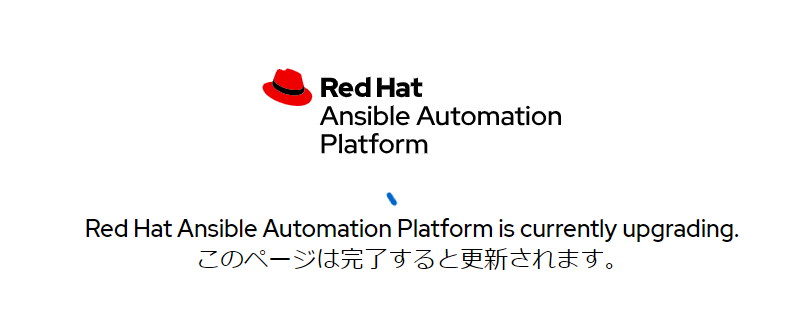
2. 下記のような処理中の画面が表示されるので、しばらく待ちます。
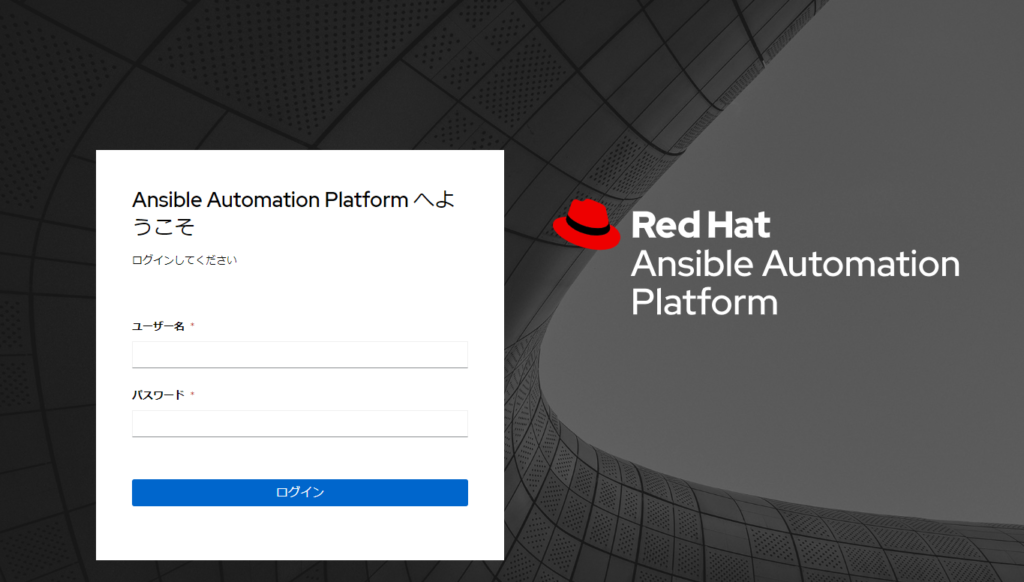
3. 処理が完了すると、ログイン画面が表示されます。
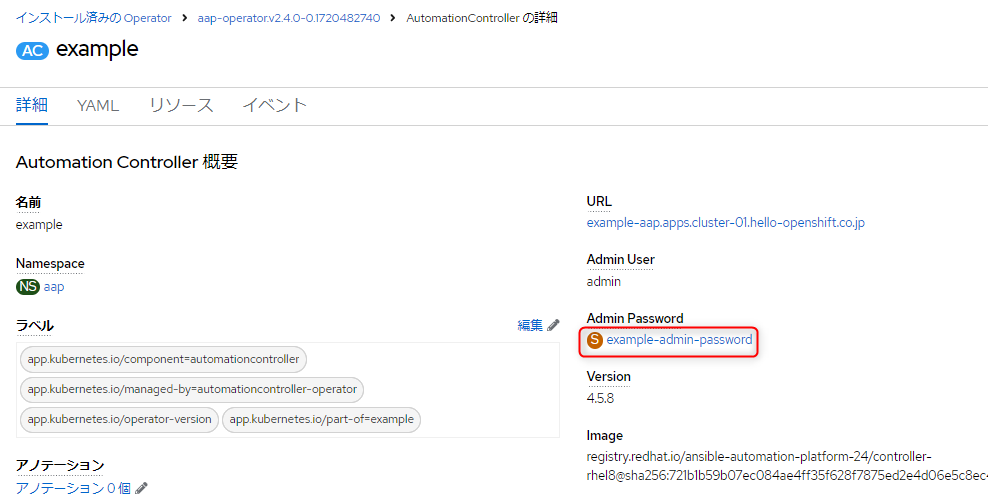
4. ログインパスワードを確認するために、作成したAutomation Controllerのインスタンスのページにアクセスし、Admin Passwordのリンクをクリックします。
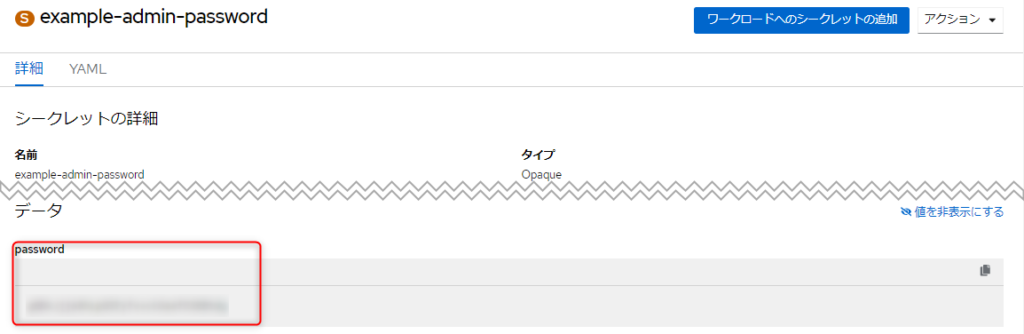
5.出てきた画面の「password」欄で、パスワードの値を確認します。
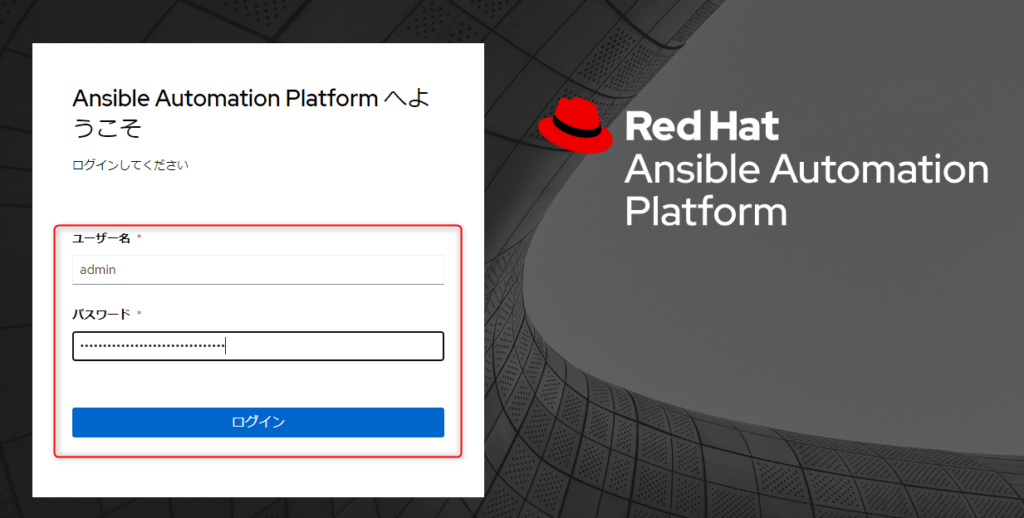
6. ログインページに戻り、ユーザー名にはadmin、パスワードは先ほど調べたパスワードを入力し、「ログイン」をクリックします。
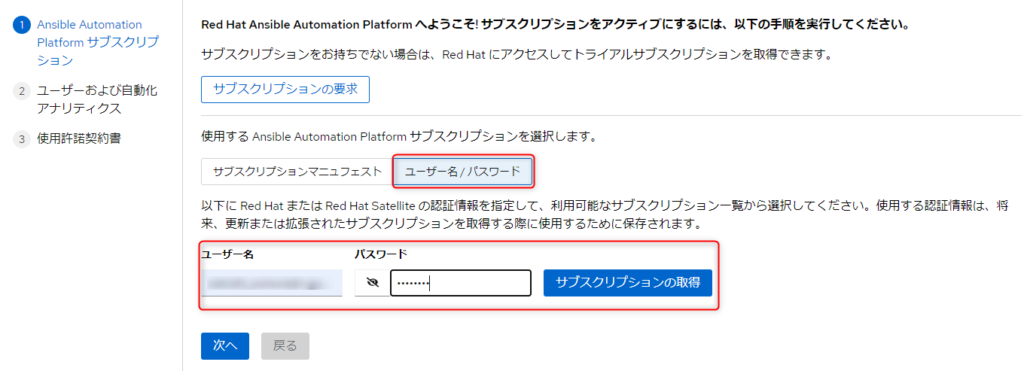
7. サブスクリプションの登録画面が出るので、サブスクリプションにアクセスできるユーザー名とパスワードを指定し、「サブスクリプションの取得」をクリックします。
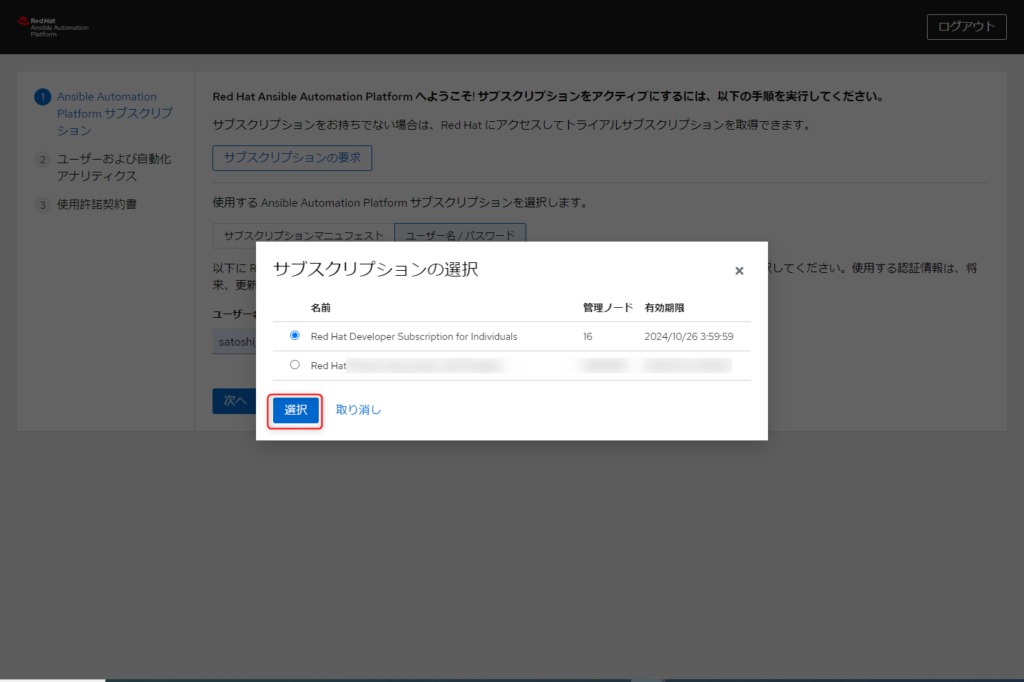
8. サブスクリプションのリストが出てくるので、割り当てたいものを選択し、「選択」をクリックします。
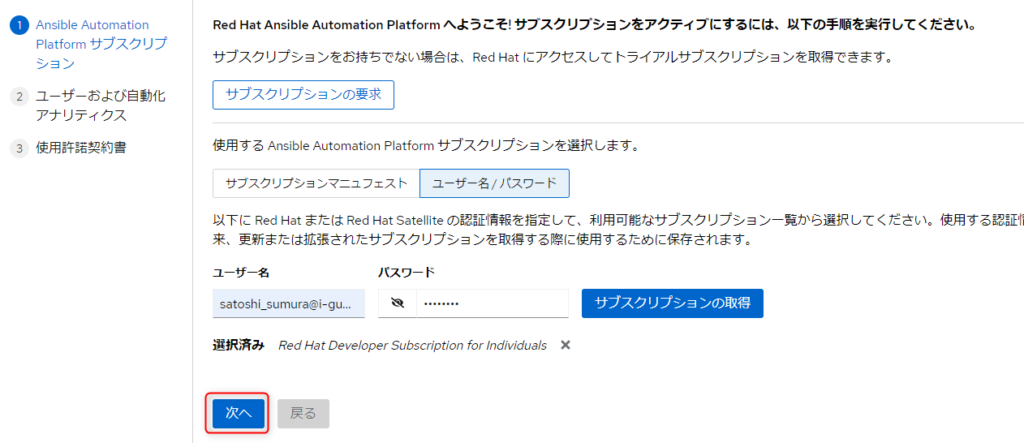
9.元の画面に戻ってくるので、「次へ」をクリックします。
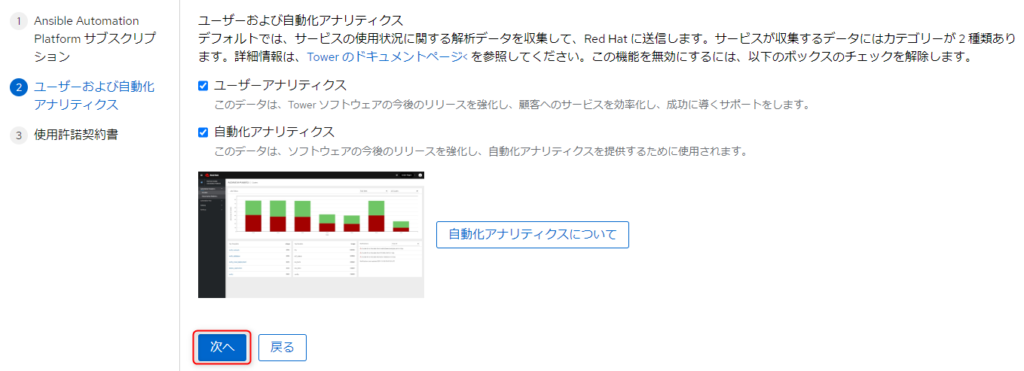
10. 使用状況のページになるので、チェックを必要に応じ外して、「次へ」をクリックします。
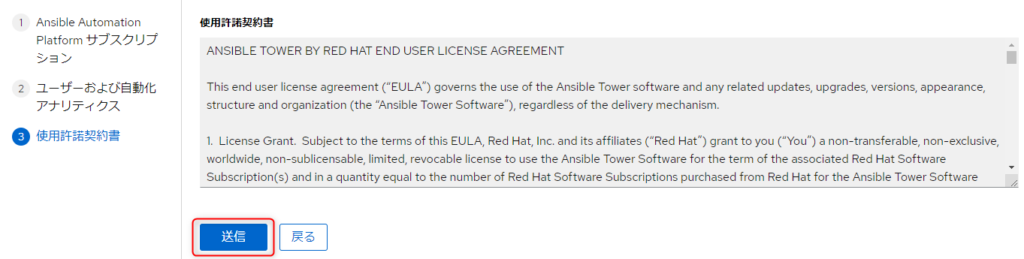
11. 使用許諾のページでは、「送信」をクリックします。
12. ダッシュボードのページが表示され、使えるようになります。

